

Key Takeaways
Understanding What You're Dealing With
Drywall - panels of gypsum plaster sandwiched between paper facing - is tough enough for everyday life but vulnerable to impact, moisture, and the natural movement of a house. Before reaching for the joint compound, take a few minutes to understand what caused the damage, not just what it looks like.
Surface dings and nail pops are purely cosmetic and straightforward to fix. Stress cracks that appear at the corners of door frames or where walls meet ceilings are usually caused by slight seasonal movement and settling; they can be repaired, but they may return if the underlying movement continues. Water-damaged drywall - often identifiable by staining, soft spots, or a musty smell - should not be patched over until the moisture source is resolved. Covering active water damage only hides a problem that will grow. If your damage involves recurring moisture, our article on basement waterproofing addresses how to approach moisture management at its source.
Putty knife or taping knife (6-inch)
Applies and feathers joint compound across the repair area.
Sanding sponge or 120-grit sandpaper
Smooths dried compound between coats and before priming.
Pre-mixed joint compound (all-purpose)
Fills, covers mesh tape, and creates a smooth surface over patches.
Self-adhesive fiberglass mesh tape
Bridges and reinforces cracks or gaps before compound is applied.
Drywall patch kit or backing board
Provides structural support for holes larger than about half an inch.
Primer
Seals the repaired area so paint adheres evenly without flashing.
Drywall screws and scrap drywall piece
Used to fabricate a California patch for medium to large holes.
Step-by-Step Repair Instructions
The following steps apply across the most common drywall scenarios a homeowner or renter will encounter. Gather your materials before you begin - having everything within reach prevents the compound from skinning over while you search for a tool.
What you will need
Assess and categorize the damage
Stand back and examine the area closely in raking light - a flashlight held at a low angle reveals surface irregularities that overhead lighting misses. Identify whether you're dealing with a nail pop, a hairline or stress crack, a small hole under roughly half an inch, a medium hole up to about 4 inches, or a larger hole that has compromised the panel's structural integrity.
If cracks radiate from door or window corners and keep returning after previous repairs, they may indicate settling or movement in the framing. In that case, review whether a structural concern is at play before patching cosmetically - see our guide to load-bearing walls for context.
Prepare the damaged area
For nail pops, drive a drywall screw about two inches above and below the popped nail to re-anchor the panel to the stud, then hammer the nail back slightly below the surface. For cracks, use a putty knife to widen the crack slightly into a shallow V-groove - this gives the compound something to grip rather than just bridging over a hairline gap. Remove any loose paper facing or crumbled gypsum around holes so edges are clean and firm.
Apply mesh tape to cracks and hole edges
Press self-adhesive fiberglass mesh tape over any crack or around the perimeter of a hole. The tape prevents the compound from cracking again along the same seam as it dries. For nail pops, tape is generally not needed - just compound over the dimples.
Back up medium to large holes
Holes larger than about half an inch need something solid behind them. For holes up to 4 inches, a clip-style patch panel or the "California patch" method (scoring a piece of drywall slightly larger than the hole, snapping off the gypsum core, and tucking the paper facing over the edges) both work well. For holes over 4 inches, cut the damaged section back to the nearest studs on each side and screw in a piece of replacement drywall, using horizontal backer boards if the hole doesn't reach a stud on one or more sides.
Apply the first coat of joint compound
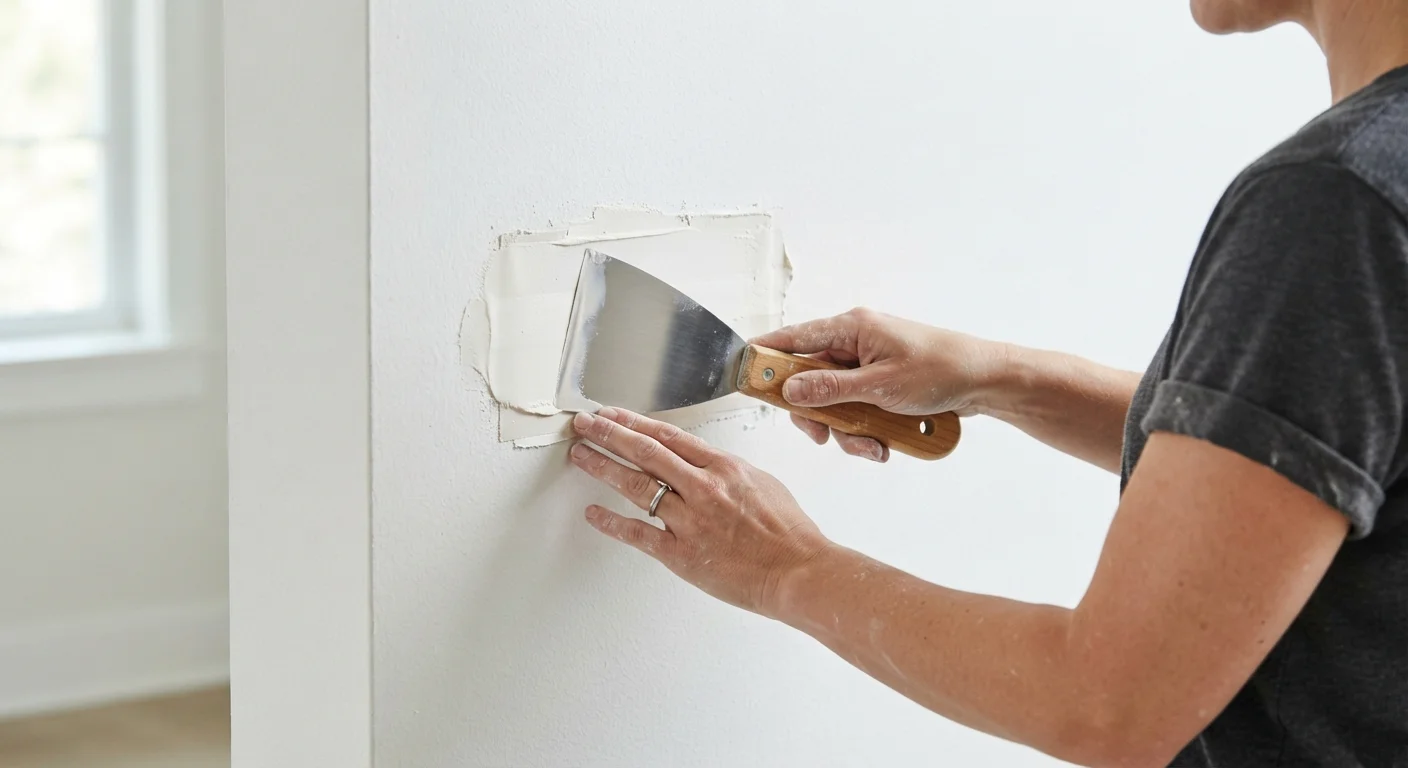
Load your taping knife with all-purpose joint compound and apply a generous first coat, pressing firmly so compound fills the mesh weave or void completely. Feather the edges outward well beyond the tape or patch - aim for 6 to 8 inches of coverage on all sides for anything larger than a small hole. Scrape off excess so the surface is as flat as possible without over-working the material.
Sand, apply second and third coats, then prime
Allow each coat to dry completely (it will turn uniformly white with no dark spots) before lightly sanding with a 120-grit sanding sponge. Wipe away dust with a damp cloth. Apply a second coat slightly wider than the first, then a thin finish coat. After the final coat is dry and sanded smooth, apply a drywall-appropriate primer before painting. Skipping the primer causes paint to absorb unevenly, creating a dull patch called flashing.
Prime Before You Paint - Every Time
Joint compound is highly porous and absorbs paint differently than the surrounding drywall surface. Applying a PVA drywall primer (or any drywall-rated primer) before your finish coat prevents the tell-tale dull patch known as flashing. This single step is the most commonly skipped - and the most visually obvious if you skip it.
Once the repair is fully primed and painted, the result should be indistinguishable from the surrounding wall. If you're working with a textured wall surface (orange peel, knockdown, or skip trowel), you'll need to replicate the texture before painting - aerosol texture sprays and simple sponge or brush techniques can approximate most common patterns.
When to Call a Professional Instead
Most small-to-medium drywall repairs are genuinely within reach for a careful DIYer - no permit is required, no specialized trade license, and the materials are widely available. However, certain situations warrant professional help. If the hole or crack is accompanied by sagging, bowing, or visible framing damage, the structural layer beneath may need attention first. Widespread water damage, mold, or damage that spans large sections of a wall is better handled by a contractor who can assess both the drywall and the underlying cause.
If you're ever unsure whether a repair crosses into licensed-trade territory, our article DIY vs. licensed professional explains where the practical and legal boundaries typically fall. And if you do end up hiring someone, questions to ask before hiring a contractor offers a useful pre-screening checklist.
Never Patch Over Active Moisture Damage
If drywall damage is accompanied by staining, soft or crumbling gypsum, or a musty odor, the moisture source must be identified and eliminated before any cosmetic repair is made. Patching over wet or mold-affected drywall traps the problem inside the wall, where it will continue to spread. Replace affected panels only after the area has fully dried and the source of water intrusion has been corrected.