Key Takeaways
Our Verdict
No single waterproofing method works for every basement. Interior sealants suit minor condensation and light seepage; interior drainage systems handle persistent intrusion efficiently; exterior waterproofing offers the most durable protection for serious water problems. Choosing the right approach depends on the source of moisture, your budget, and how the space is used.
| Best for | Recommended |
|---|---|
| Minor condensation or light surface seepage | Interior Sealants |
| Ongoing water intrusion on a moderate budget | Interior Drainage System with Sump Pump |
| Severe or persistent hydrostatic pressure and foundation leaks | Exterior Waterproofing |
| Combining long-term prevention with cost management | Exterior Grading + Interior Drainage |
Why Basements Let Water In
Water finds its way into basements through three main pathways: condensation forming on cool concrete walls, seepage through porous masonry, and hydrostatic pressure - the force exerted by water-saturated soil pushing against the foundation. Identifying which problem you have is the critical first step, because the right solution depends entirely on the source.
A quick diagnostic: tape a piece of aluminum foil flat against a damp wall, seal all four edges, and leave it for 24 hours. Moisture on the room-facing side points to condensation; moisture on the wall-facing side indicates water moving through the foundation itself. Persistent puddles along the wall-floor joint usually signal hydrostatic pressure or a failed footing drain.
Understanding the cause helps you avoid spending money on fixes that won't hold. Seasonal maintenance checks that include inspecting basement walls for new staining or efflorescence (the white mineral deposits water leaves behind) can catch problems before they escalate.
Interior Sealants: Low Cost, Limited Scope
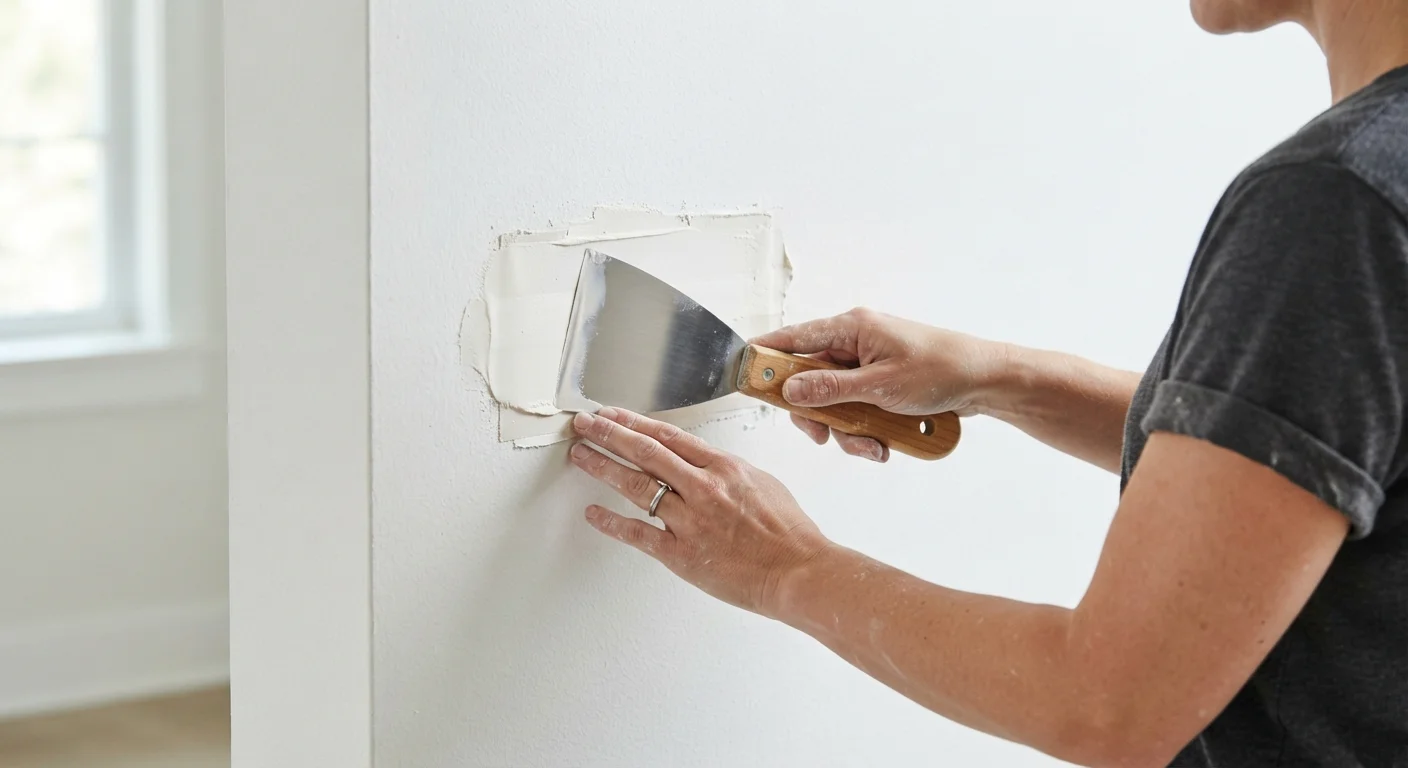
Hydraulic cement and masonry waterproofing paints or coatings are the most accessible DIY options. Applied directly to interior walls, they create a barrier that resists light moisture and seepage. These products work reasonably well for porous concrete-block walls experiencing mild, intermittent dampness.
Their limitations are significant, however. Coatings cannot withstand sustained hydrostatic pressure - water pushing hard enough will eventually force them off the wall. They also do nothing to address the underlying soil drainage or foundation cracks that allow water entry. If the source of moisture isn't corrected, sealants become a temporary cosmetic fix rather than a solution.
Pair Sealants with Gap Sealing
Interior sealants work best when combined with careful attention to cracks, pipe penetrations, and window well seams. Even a hairline crack can allow significant moisture intrusion under pressure. Addressing every visible gap before applying a sealant coat gives the coating its best chance of holding.
Interior sealants pair well with sealing visible cracks and gaps around pipe penetrations and window wells, which are common secondary entry points for moisture.
Interior Drainage Systems and Sump Pumps
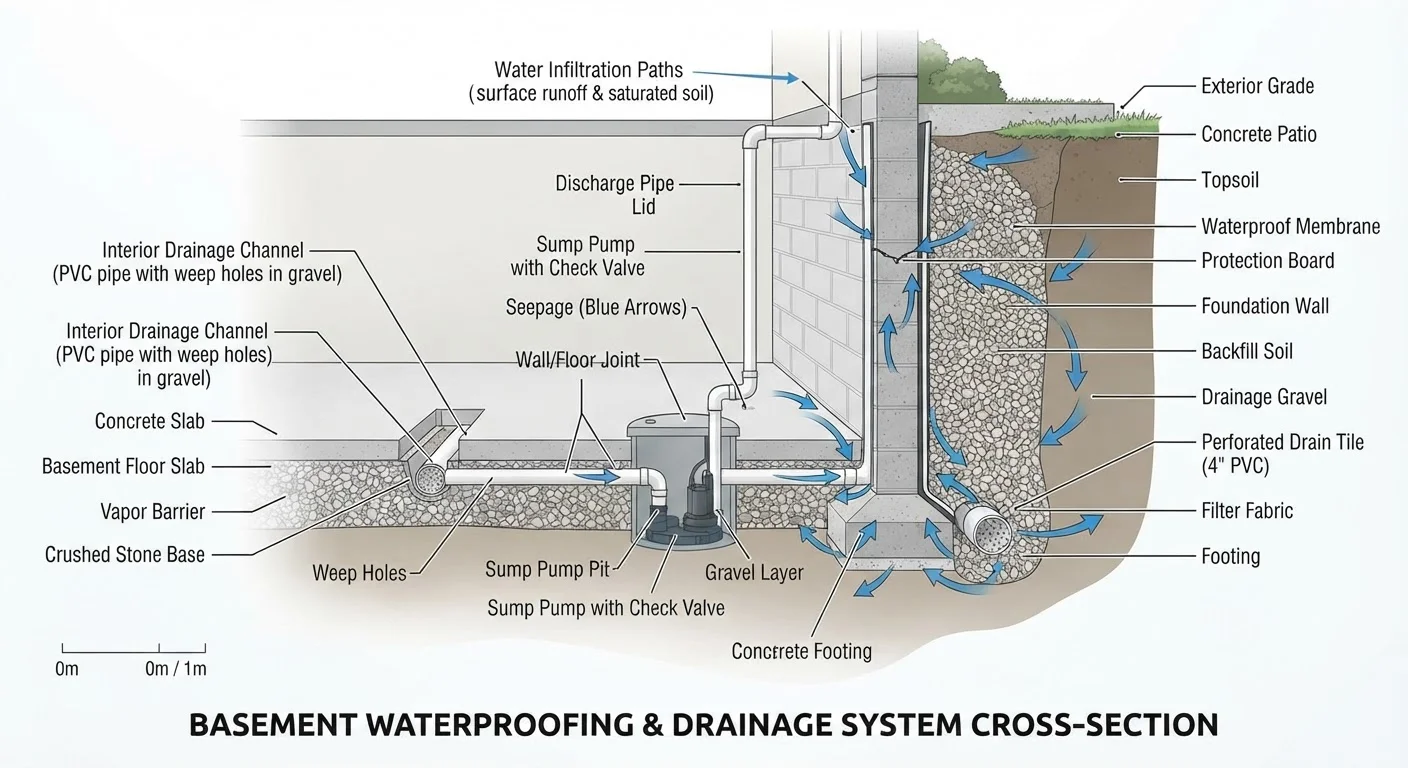
When water regularly enters through the wall-floor joint or through cracks in the floor slab, an interior drainage system becomes the practical middle-ground solution. A contractor installs a perforated drain channel around the basement perimeter, beneath or alongside the floor slab, which collects incoming water and directs it to a sump pit. A sump pump then ejects that water away from the foundation.
This approach doesn't stop water from entering the foundation, but it controls and removes water before it can flood the space. Because the work stays inside, costs are substantially lower than exterior excavation, and the home remains occupied during installation.
| Interior Sealants | Interior Drainage + Sump | Exterior Waterproofing | |
|---|---|---|---|
| Typical cost range | Low (DIY-friendly) | Moderate (professional install) | High (excavation required) |
| Addresses hydrostatic pressure | No | Manages it indirectly | Yes, directly |
| Disruption to home | Minimal | Moderate (interior work) | Significant (exterior dig) |
| Durability | Short to medium term | Long term with maintenance | Longest term |
| DIY feasibility | Yes, for minor seepage | Rarely - professional recommended | No - always professional |
| Permit typically required | Usually not | Often yes | Yes |
Sump pumps require regular maintenance - testing the float mechanism seasonally and replacing the unit every 7-10 years is a reasonable general guideline. A battery backup or water-powered backup system is worth considering to keep the pump operational during power outages, which often coincide with the heaviest rainstorms. Planning for this kind of equipment replacement is easier when you use a sinking fund for home repairs.
Exterior Waterproofing: Stopping Water at the Source
Exterior waterproofing is the most comprehensive - and most disruptive - approach. It involves excavating the soil around the entire foundation perimeter down to the footing, cleaning the exterior walls, applying a waterproof membrane or drainage board, installing new perimeter drain tile, and backfilling with gravel to encourage water to drain away from the foundation.
Done correctly, exterior waterproofing addresses the root cause by preventing water from ever contacting the foundation wall under pressure. It also provides an opportunity to repair visible foundation cracks from the outside. The trade-offs are substantial cost, significant landscape disruption, and the need for licensed contractors in most jurisdictions - this is not a DIY project. Permits are typically required, and any work near the footing may need inspection.
Before signing a contract for any major waterproofing work, review our checklist for evaluating contractors to ensure you're working with a properly licensed and insured professional.
Grading, Gutters, and Surface Drainage
Regardless of which waterproofing method you choose, improving surface drainage around the home is an essential complement. Soil should slope away from the foundation at a grade of at least six inches over the first ten feet. Flat or negative grades allow rainwater to pool against the foundation and dramatically increase hydrostatic pressure over time.
Gutters and downspouts also play an outsized role. Downspouts that terminate too close to the foundation - or that are clogged and overflowing - can introduce hundreds of gallons of water against the walls during a single storm. Extensions directing discharge at least four to six feet from the foundation are a low-cost, high-impact improvement.
These surface corrections don't replace waterproofing when a real problem exists, but they reduce the workload on any system you install. A monthly home walkthrough that includes checking gutter flow and grading conditions can prevent small issues from compounding into major water damage.
Choosing the Right Strategy
Matching the solution to the actual problem - not the easiest or least expensive fix - is what produces lasting results. Use the comparison above as a starting framework, then consult with a licensed waterproofing or structural contractor for an on-site assessment before committing to a major approach.
For finished basements or those being planned as living space, the stakes are higher. Water damage to insulation, framing, and drywall compounds the cost of any moisture problem significantly. If you're planning to insulate the space, review insulation options for basement walls in the context of moisture management - some materials handle incidental dampness better than others.
This article is for general informational purposes only. Waterproofing requirements vary by home, foundation type, soil conditions, and local building codes. Consult a licensed contractor and verify permit requirements with your local building authority before beginning any significant waterproofing project.