Key Takeaways
Grout Failure
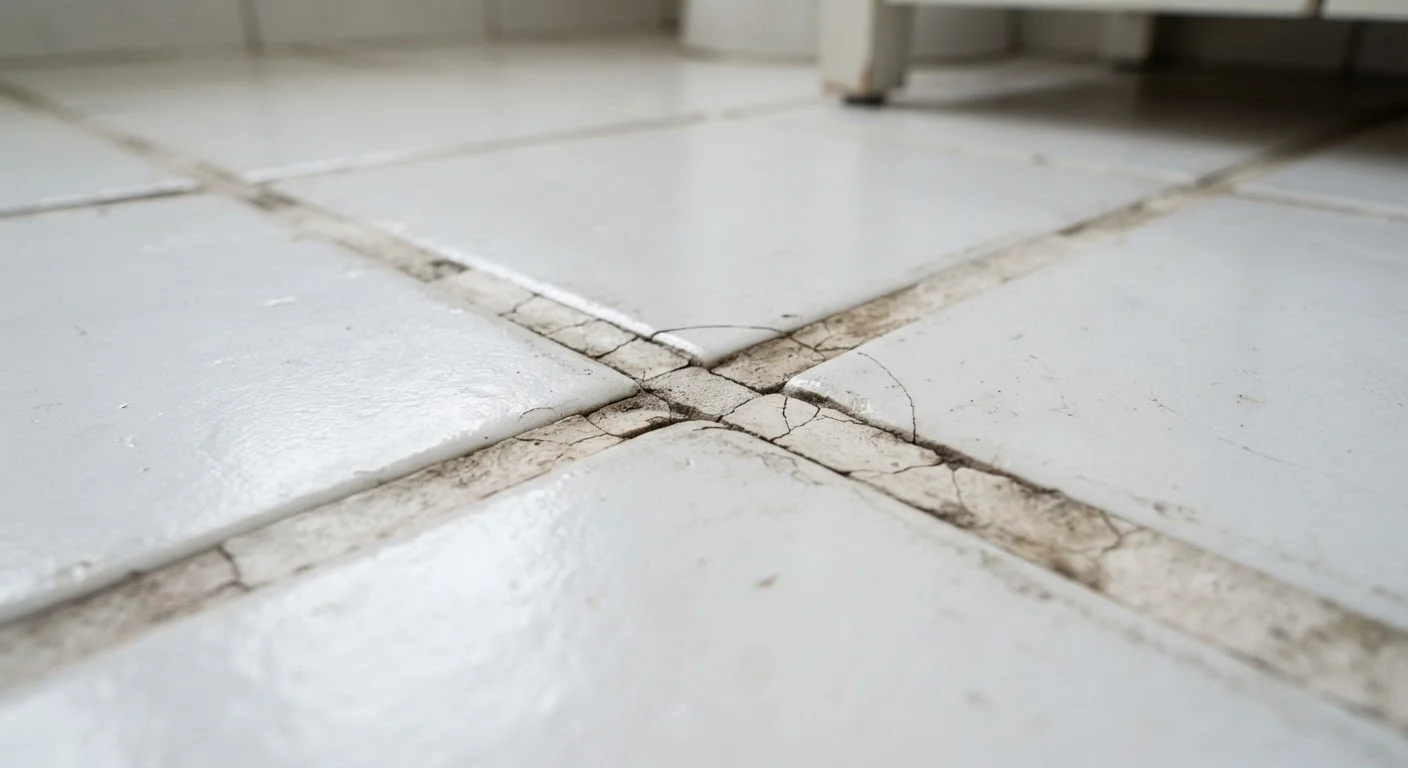
Grout failure refers to the cracking, crumbling, or separation of the cement-based or epoxy filler material used between tiles. It can result from normal structural movement, improper installation, moisture intrusion, or substrate instability. While hairline cracks are sometimes cosmetic, deeper or recurring failures often point to an underlying problem that warrants attention.
Grout is not an adhesive - it fills joints and resists moisture but relies entirely on the tile adhesive (thinset mortar) and substrate beneath for structural integrity.
Grout Is a Messenger, Not Just a Material
When grout cracks, the instinct is to patch it and move on. But grout is one of the few parts of a tile installation that openly shows you when something is wrong. Understanding what the cracks are communicating - and why they form where they do - is the difference between a fix that holds and one that fails again in six months.
Grout fills the joints between tiles. It isn't structural, and it isn't meant to flex. That rigidity is exactly why it cracks when something beneath or around it moves, swells, or shifts. The crack isn't the problem - it's the signal.
“Grout joints are not the place to absorb structural movement - that's what expansion joints and flexible sealants are for. When installers skip those details, the grout will always find a way to tell you.”
— Tile Council of North America, Industry standards body for tile installation practices in the United States
The Most Common Causes of Grout Cracking
Several distinct forces cause grout to fail, and they don't all look the same:
- Substrate movement: Wood subfloors deflect slightly when walked on. If the deflection is significant enough - due to floor joist spacing, subfloor thickness, or material choice - it transmits stress through the thinset and into the grout. Grout simply cannot absorb that movement without fracturing.
- Thermal and moisture expansion: All building materials expand and contract with temperature and humidity changes. Tiles, adhesive, and substrate expand at different rates. Without adequate expansion joints to absorb those differences, the stress concentrates in the grout lines.
- Missing or improper expansion joints: Building standards call for soft joints (filled with flexible caulk rather than rigid grout) at certain intervals and at all changes of plane - where floor meets wall, for example. When installers skip these joints or fill them with grout, cracking is nearly inevitable at those locations.
- Insufficient thinset coverage: If tiles weren't fully bedded in adhesive during installation, hollow spots form beneath them. Tiles flex slightly over those voids, and grout - which bridges the tile edges - cracks under repeated stress.
- Normal building settlement: As a structure settles in its first few years, minor cracking in grout joints is common, particularly along diagonal lines that follow stress paths in the subfloor or framing.
~80%
Tile failures linked to substrate or installation errors
Industry estimates from tile installation trade organizations suggest the large majority of tile and grout failures originate in substrate preparation or installation practice rather than defective materials.
1/8"
Minimum recommended expansion joint spacing interval
The Tile Council of North America (TCNA) guidelines generally recommend soft expansion joints at least every 8-12 feet in interior applications and at all changes of plane.
Reading the Pattern: What Different Cracks Mean
Where cracks appear and how they're shaped can tell you quite a bit about their origin:
- Cracks along every grout line in a section
- Suggests widespread substrate movement or a large hollow spot beneath the tile field. Press gently on tiles nearby - a hollow, clicking sound means the bond beneath has failed.
- Cracks only at corners and wall edges
- A strong indicator of missing expansion joints. These are the highest-movement locations in any tiled surface.
- Random hairline cracks across a single tile's grout lines
- Often the result of a point impact or insufficient thinset support at that specific tile, rather than a systemic problem.
- Stair-step cracking along a wall
- May indicate structural settlement or movement behind the wall rather than a tile-specific issue. This pattern warrants a closer look at the wall assembly, and in some cases a structural consultation.
If you're planning a new tile project and want to avoid these pitfalls from the start, see our guide to your first bathroom tile project for a ground-up walkthrough of substrate preparation and grouting basics.
Test for Hollow Tiles Before Regrouting
Before investing time in regrouting, tap each tile in the affected area lightly with a coin or the handle of a screwdriver. A solid, dense sound means the bond is intact; a hollow or clicking sound means the tile has debonded from the substrate. Regrouting over debonded tiles will not hold - those tiles need to be removed and re-set first.
Moisture: The Complicating Factor
Grout cracking and water intrusion form a damaging feedback loop. Cracked grout lets water past the surface and into the tile assembly, where it can weaken thinset bonds, promote mold growth, and - in exterior or below-grade applications - cause freeze-thaw damage that widens cracks further.
Look for these signs that moisture has already gotten involved: efflorescence (white mineral deposits near grout lines), dark staining that doesn't scrub away, grout that crumbles rather than cracks cleanly, or tiles that feel soft underfoot. Any of these alongside visible cracking suggests that repair scope extends beyond surface regrouting.
In below-grade spaces like basements, tile failure and water intrusion are often connected to broader waterproofing issues. Our basement waterproofing overview covers how interior and exterior strategies work together to manage moisture at the source.
Sanded vs. Unsanded Grout and Cracking
The type of grout used in a joint affects its durability. Unsanded grout is used in narrow joints (under 1/8 inch) and is more prone to shrinkage cracking if used in wider joints. Sanded grout is designed for joints 1/8 inch and wider and resists shrinkage better. Using the wrong type for a joint width is a common installation error that contributes to early cracking.
What to Do About It
The appropriate response depends entirely on what's causing the cracking:
- If the tiles are solidly bonded and cracks are isolated: Remove the cracked grout with a grout saw or oscillating tool, clean the joint thoroughly, and regrout. At wall-to-floor transitions, replace grout with flexible sanded caulk that matches - this is the correct material for those joints, not a shortcut.
- If tiles are hollow or loose: Regrouting alone won't work. Affected tiles need to be removed, the substrate assessed, and tiles re-set with proper thinset coverage before any grouting happens.
- If cracks keep returning: The substrate or structure is still moving. Identify and address the source - subfloor reinforcement, correction of a moisture problem, or professional structural assessment - before attempting cosmetic repairs.
Cracked grout is one of the most informative things a home can show you. Taking it seriously, rather than patching over it, is the approach that protects your tile investment and the structure behind it.