

Key Takeaways
Start here
Why Camera Settings Feel Overwhelming
Core concepts
Light and Exposure Controls
Practical use
Scene and Mode Options
Smart decisions
Resolution, Format, and Storage
Go deeper
Pro and Manual Mode Demystified
Why Camera Settings Feel Overwhelming
Open your phone's camera settings and you're likely greeted by a wall of options: ISO, white balance, aspect ratio, HEIF, RAW, grid lines, and more. These labels come from decades of professional photography terminology — vocabulary designed for studio photographers, not someone snapping a birthday photo. The good news is that you don't need to master every option. Understanding a handful of core concepts will make the rest fall into place.
Your phone's auto mode is genuinely excellent for most situations — but it makes compromises. Knowing what those compromises are, and when to override them, is what separates decent snapshots from photos you're proud of. This guide translates each major setting into plain language and explains the specific circumstances where it actually matters.
ISO
A measure of how sensitive your camera's sensor is to light. Higher ISO brightens dark images but adds visible grain (noise).
Exposure compensation
A manual override that tells the camera to make a photo brighter or darker than its automatic setting would produce.
HDR
High Dynamic Range — a mode that merges multiple exposures to capture detail in both very bright and very dark parts of a scene.
RAW format
An uncompressed image file that stores all sensor data, giving much more flexibility when editing but creating larger file sizes.
Bokeh
The soft background blur effect in photos. Phone portrait modes simulate this digitally using software.
White balance
A setting that adjusts color temperature so that white objects look white under different types of lighting, such as indoor bulbs or daylight.
Shutter speed
How long the camera sensor is exposed to light during a shot. Fast speeds freeze motion; slow speeds allow more light but can cause blur.
Light and Exposure Controls
ISO is how sensitive your camera sensor is to available light. In bright daylight, a low ISO (50–200) captures clean, sharp images. In dim rooms or at night, the camera automatically raises ISO to compensate — but higher values introduce noise, which appears as a grainy, speckled texture. If your night shots look gritty, your ISO is likely very high.
Exposure compensation is the most practical control most people ignore. After tapping your focus point, a small sun or slider usually appears — drag it up to brighten, down to darken. This single adjustment solves the most common complaint: "My photos look too dark" or "The sky is washed out."
White balance adjusts the color temperature of your image. Indoor lighting often casts a yellow warmth; fluorescent lights can make skin look greenish. Auto white balance handles this well most of the time, but if skin tones look off, switching to a preset like "Tungsten" or "Daylight" can fix it immediately.
Master Exposure Before Anything Else
If you learn only one camera control, make it exposure compensation. Tap your subject on screen to set the focus point, then drag the brightness slider before you shoot. This single habit solves the majority of "too dark" or "too bright" complaints without touching any other setting.
Scene and Mode Options
HDR (High Dynamic Range) captures multiple exposures simultaneously and merges them. The result preserves highlight detail in bright skies while keeping shadowed areas visible. It's ideal for landscapes and architecture but creates problems with moving subjects, since merging slightly different frames can produce ghosting or blur.
Night mode works by holding the shutter open across multiple frames — sometimes two to five seconds — and using computational processing to align and merge them into a single bright, low-noise image. The catch: both you and your subject must stay still during the capture. A resting tripod or a ledge helps considerably.
Portrait mode uses software to simulate the background blur (called bokeh) that large-lens cameras produce naturally. The phone identifies your subject's edges and digitally blurs everything behind them. Results are impressive in good light but can struggle with complex backgrounds, hair, or transparent objects like glasses.
Resolution, Format, and Storage
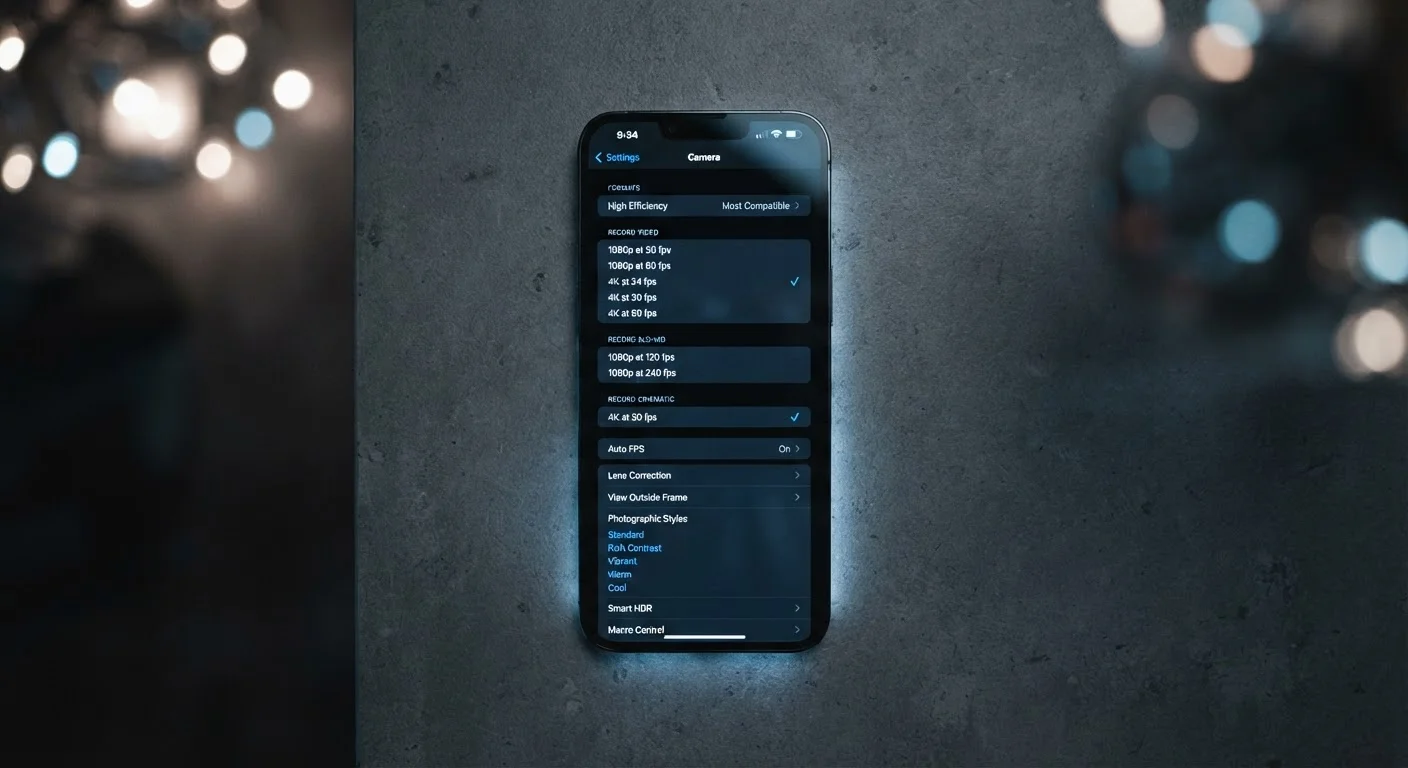
Many phones default to a mid-range resolution rather than their maximum megapixel count. Higher resolution creates larger files — and as your phone's storage fills up, photos are often the biggest culprit. Unless you regularly print large images or crop photos significantly, the default resolution is usually appropriate for everyday use.
HEIF/HEIC (High Efficiency Image File) is a modern format that compresses photos to roughly half the size of a JPEG with comparable quality. Most current operating systems and social platforms support it, but older devices and some software may not read these files without conversion.
RAW files store all the raw sensor data before the phone applies its automatic processing. This gives photographers extensive post-editing flexibility — adjusting exposure, recovering blown-out highlights, or shifting colors without quality loss. However, RAW files are significantly larger than JPEGs and require dedicated editing software to view and process.
RAW Shooting Fills Storage Fast
Enabling RAW capture can quickly consume gigabytes of storage, especially during events or travel. A single RAW file can be 20–50 MB compared to 3–5 MB for a JPEG. If you switch RAW on for a specific shoot, remember to turn it off afterward — and check your available storage before a long day of shooting.
Pro and Manual Mode Demystified
Most modern phones include a Pro or Manual mode that surfaces direct controls for ISO, shutter speed, white balance, and focus distance. These settings replicate the controls found on dedicated cameras and are worth exploring once you're comfortable with exposure basics.
Shutter speed controls how long the sensor is exposed to light. A fast shutter (1/1000s) freezes motion — useful for sports or pets. A slow shutter (1/10s or longer) allows more light in but will blur anything that moves, including a slight hand tremor. Pairing a slow shutter with a stable surface can produce dramatic light trail effects.
For most everyday users, the most impactful upgrade isn't Pro mode — it's simply learning to tap to focus, adjust exposure compensation, and choose the right scene mode. The full smartphone guide covers these fundamentals alongside other phone skills worth building.