

Key Takeaways
Why Home Network Setup Deserves a Thoughtful Approach
A home network today supports far more than web browsing. Video calls, 4K streaming, remote work, gaming, and a growing number of smart home devices all share the same wireless infrastructure — and a poorly configured network affects all of them simultaneously. Most ISPs ship a preconfigured gateway device that technically works out of the box, but default settings are rarely optimized for coverage, security, or performance in a real home environment.
Understanding a few core concepts — band selection, router placement, and network segmentation — allows you to make deliberate decisions rather than accepting whatever defaults your hardware ships with. For a deeper look at whether a single router or a mesh system better matches your home's layout, see our comparison of mesh Wi-Fi and traditional routers.
What you will need
If you're also connecting a new computer to your network for the first time, our new computer setup guide walks through the full first-boot process.
Wi-Fi Router
The central device that broadcasts your wireless network throughout your home.
Modem
Connects your home network to your ISP's infrastructure; often combined with the router in a gateway device.
Ethernet Cable
Used to connect a laptop directly to the router for reliable initial configuration.
Mesh Node(s)
Additional access points that extend coverage in larger homes or multi-floor layouts.
Network Speed Test App or Website
Measures real-world download and upload speeds to verify performance after setup.
Step-by-Step Setup
Change the Default Router Password First
Every router ships with a default admin username and password — often printed on the device itself — and these credentials are publicly listed online. Before doing anything else, log into your router's admin panel and set a unique, strong admin password. Skipping this step leaves your entire network exposed to anyone who can reach it.
Position your router strategically
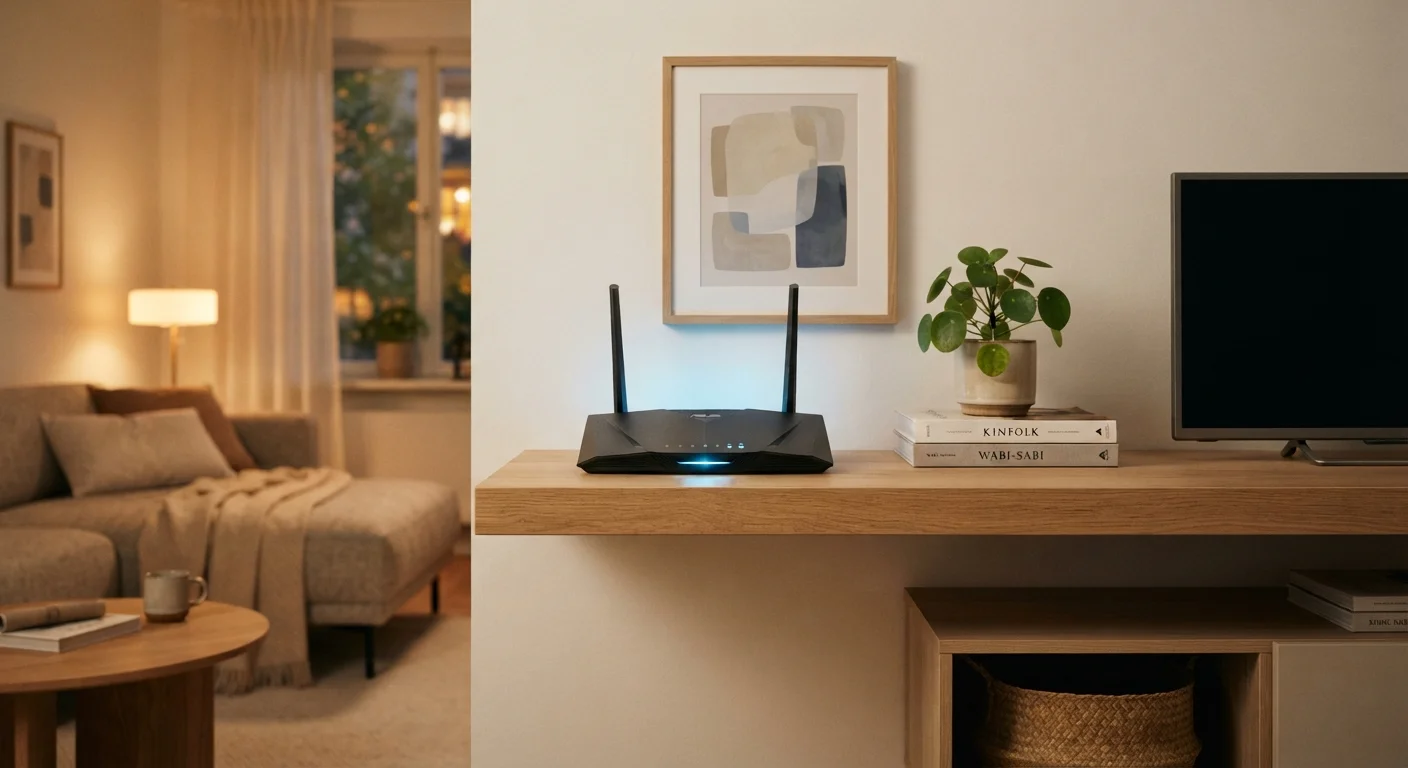
Place your router in as central a location as possible — ideally elevated (a shelf or bookcase works well) and in the open rather than tucked inside a cabinet or closet. Wi-Fi signals radiate outward in all directions, so a central position minimizes the distance to every corner of your home. If your modem is locked to a wall jack in a far corner, consider using a longer coaxial or phone cable to reposition the modem closer to the center, then run Ethernet from the modem to the router.
Connect and power up the hardware
Plug your modem into the wall outlet and connect it to your ISP's incoming line (coaxial, phone, or fiber port depending on your service type). Use an Ethernet cable to connect the modem's LAN port to the router's WAN (or Internet) port — these are typically labeled and color-coded. Power on the modem first and wait roughly 60 seconds for it to establish a connection before powering on the router.
Log into the router admin panel and change default credentials
From a connected device, open a browser and enter the router's default gateway address — commonly 192.168.1.1 or 192.168.0.1, though this varies by manufacturer and is printed on the router label. Log in with the default credentials, then immediately navigate to the admin password or security section and set a unique, strong password. This is separate from your Wi-Fi password.
Configure your Wi-Fi network name (SSID) and password
In the wireless settings section, set a clear network name (SSID) that doesn't identify your address or router model. Choose WPA3 encryption if your router supports it; WPA2 is acceptable if not. Set a strong Wi-Fi password — at least 12 characters mixing letters, numbers, and symbols. If your router offers both 2.4 GHz and 5 GHz bands, you can give them the same name to let devices auto-select, or separate names if you prefer manual control. The 5 GHz band offers faster speeds at shorter ranges; 2.4 GHz reaches farther and penetrates walls better.
Create a separate guest network
Most modern routers support a guest network — a separate SSID that shares your internet connection but is isolated from your primary network and the devices on it. Enable this feature in your router's wireless or guest access settings, give it a distinct name, and set a different password. Connect all smart home devices (TVs, thermostats, cameras, voice assistants) to the guest network rather than your primary one. This limits their access to your personal computers, phones, and files.
Update router firmware
Router firmware updates patch security vulnerabilities and can improve performance and compatibility. In the router admin panel, look for a Firmware Update or Software Update section — many modern routers can check for and apply updates automatically. Enable automatic updates if available; otherwise, make a note to check every few months. Applying the latest firmware immediately after setup closes known security gaps before any devices connect.
Test coverage and address dead zones
Walk through each room with a connected device and note where signal strength drops or speed degrades significantly. If you find persistent dead zones — especially in far bedrooms, a basement, or a detached garage — consider whether a mesh system, a wired access point, or a Wi-Fi extender is the right solution for your layout. For most homes larger than 1,500 square feet or with more than one floor, a mesh system typically delivers more consistent results than a single router.
Run a Speed Test Before and After Setup
Use a free browser-based speed test to measure your connection at various points around your home once everything is configured. Testing near the router and then at the farthest room gives you a concrete baseline and highlights dead zones worth addressing. Run the test over both Wi-Fi and, if possible, a direct wired connection to confirm your ISP is delivering the speeds you're paying for.
Avoid Placing Your Router Near Interference Sources
Microwaves, cordless phones, and baby monitors can all disrupt 2.4 GHz Wi-Fi signals. Keep your router away from these devices, as well as thick concrete walls, large metal appliances, and fish tanks, all of which absorb or reflect wireless signals. Even neighboring networks on the same channel can cause slowdowns in dense apartment buildings.
Once your network is running, think carefully about which devices you place on your primary network versus the guest network. Smart home devices in particular introduce a different risk profile than a personal laptop or phone — for more on that, see trade-offs between wired and wireless smart home devices.
After Setup: Habits That Keep Your Network Reliable and Secure
A well-configured network at setup is a strong start, but a few ongoing habits meaningfully extend that foundation. Restarting your router monthly (or enabling scheduled reboots if supported) can resolve gradual performance degradation. Periodically review the devices connected to your network through the admin panel's device list — unfamiliar devices are worth investigating. If your router supports Quality of Service (QoS) settings, you can prioritize traffic for video calls or streaming over lower-priority background activity.
For households with many connected devices, securing your home devices after setup covers firmware habits, password hygiene, and network segmentation in more depth. If you're curious whether the latest Wi-Fi standards are worth considering for your next router, our Wi-Fi 6 vs. Wi-Fi 6E breakdown explains what the newer bands actually change in everyday use. For households debating Ethernet drops for workstations or game consoles, wired vs. wireless at home lays out where each approach holds up.